A while back, I decided I wanted full control over my WordPress setup—no shared hosting restrictions, no surprise price hikes, and no limitations on plugins or themes. So I took a slightly nerdy route and hosted WordPress on my Synology NAS. Spoiler: it actually works really well.
Why Use a NAS for WordPress?
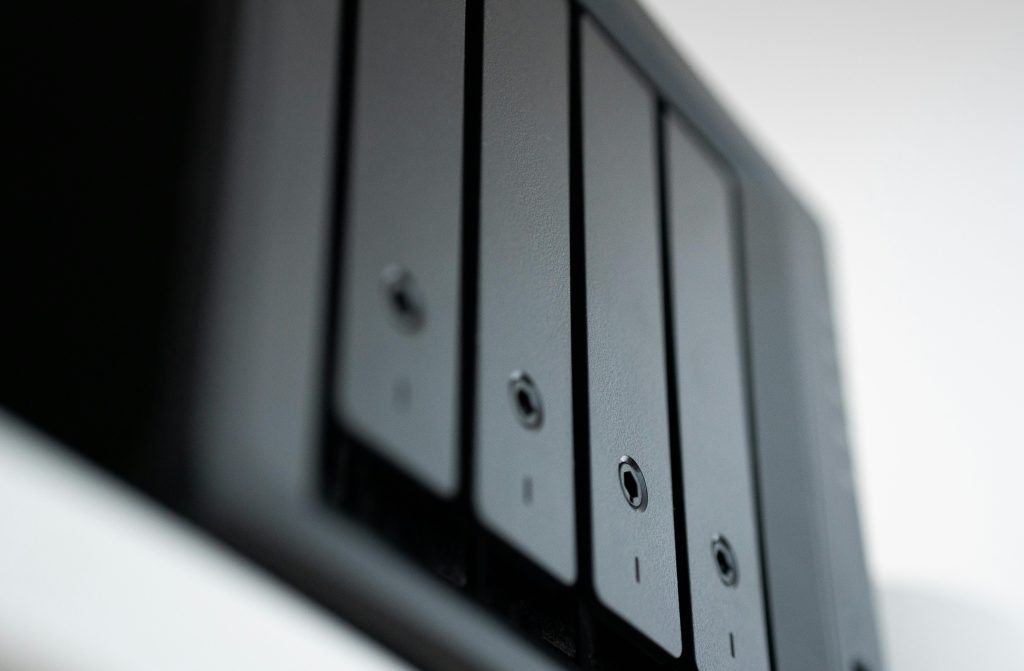
I already had a Synology NAS running 24/7 for backups, media storage, and a few other self-hosted tools. So I figured—why not use it to run my personal website too? It’s always on, it’s on my network, and it’s surprisingly capable with Container Manager and the Web Station package.
The Setup
Getting WordPress running wasn’t as plug-and-play as installing a plugin, but it wasn’t too bad either. Here’s the gist of how I got it working:
1. Installed Container Manager
Synology replaced Docker with Container Manager, and it actually works great. You can pull images, configure networks and volumes, and manage containers all in one place through the DSM interface.
Helpful resources:
How to Use Docker & Container Manager on a Synology NAS (WunderTech)
How to Use Container Manager (Docker) on a Synology NAS – YouTube
2. Grabbed WordPress from the Official Website
Instead of using a container image, I downloaded WordPress directly from the official site:
👉 https://wordpress.org/download/
I then deployed it through Synology’s Web Station, using PHP and MariaDB running locally.
Helpful resources:
How to Host a WordPress Website on a Synology NAS (WunderTech)
How to Setup & Run a Website on a Synology NAS Using WordPress – YouTube
3. Volume Mounts
I mapped persistent storage volumes on my NAS to ensure site files and the database survive restarts and updates. Nothing worse than losing your site after a reboot.
Helpful resources:
Synology DSM: Volume Setup – Official Docs
How to Create a Volume on Synology NAS (NAS Master)
4. Cloudflare for DNS and Proxy
Instead of relying on Synology’s reverse proxy alone, I routed my domain through Cloudflare. It handles DNS, gives me protection and caching, and makes remote access way more stable and secure.
Helpful resource:
Think Smart Home – Using Cloudflare for Self-Hosting – YouTube
While the video wasn’t an exact match for my setup, it pointed me in the right direction. With my background, certifications, and some good old persistence, I was able to figure out the rest on my own.
5. SSL with Let’s Encrypt
I used Synology’s built-in Let’s Encrypt support to secure my site with HTTPS. No need to worry about renewing certs manually.
Helpful resources:
How to Obtain a Certificate from Let’s Encrypt – Synology Official Guide
Configure HTTPS with Let’s Encrypt on Synology NAS – YouTube
Real-World Performance
Honestly, for a personal site or blog, it performs great. Page loads are quick on my local network, and even remote access is solid thanks to Cloudflare’s proxy and my dynamic DNS setup. Plus, I don’t have to rely on a third party to keep my site online.
Customizing My Setup
Because it’s self-hosted, I’ve been able to tinker a lot. I wrote my own WordPress plugin to import movies from TMDB, display them with filters, and make the frontend feel clean and snappy—all without being boxed in by hosting limitations. You can see the results on my Life in the Movies page.
Final Thoughts
If you’ve already got a Synology NAS and you’re comfortable with WordPress or containers, hosting your own site is totally doable. It’s a fun project, gives you full control, and (for me at least) adds that extra bit of pride knowing I built and host everything myself.
Have questions about setting it up? Hit me up—I’ve probably already solved whatever issue you’re running into.